Oct 28 2013

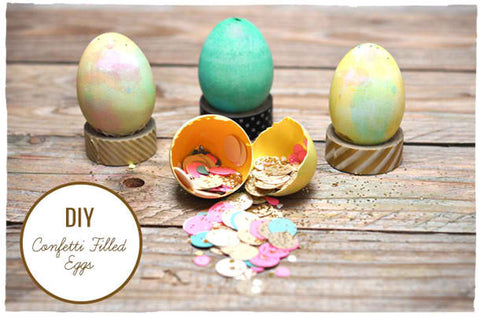
Hope you guys didnt forget but Smitten on paper has monthly DIY post over at Green Wedding Shoes. Each month we whip up some neat Do-it-Yourselves that would be perfect for your wedding. Here is a peek at some of the DIYs we have done so far. And dont forget to keep an eye out for us over at Green Wedding Shoes!
Confetti Filled Eggs
Origami Heart Escort Cards
Paper Flower Backdrop
Down the Aisle Banner
Marquee Letters
The post Green Wedding Shoes Wrap up II appeared first on Smitt...
Go to post
Oct 11 2013

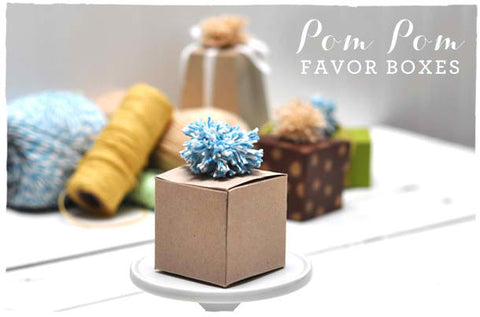
Wanna jazz up your favor boxes? For today’s DIY, we made Pom Pom favor boxes out of our super cute Small Italian Two Piece Box and our adorable Bakers Twine. Incredibly easy and fast to do. Enjoy!
The post DIY: Pom Pom Favor Boxes appeared first on Smitten on Paper.
Go to post
Jun 20 2013

1. Draw a spiral. 2. Cut spiral along the lines. 3. Begin to wrap the paper onto itself. 4. Wrap all the way down to the end. 5. Let the paper carefully unwind on its own. 6. Your done! Repeat as much as desired.
When done, these roses look good on just about anything. Be creative! We glued them on a wreathe for that really special look.
The post DIY: Paper Roses Wreath appeared first on Smitten on Paper.
Go to post
Jun 18 2013

Today’s DIY is so simple, I’m not sure we can even call it a DIY. But we will anyway!
All you have to do is wander on outside and cut a few clippings from any vines you like the look of. We found this cutting right in Smitten’s driveway. Then you simply wrap it in a circle and twist the end through the circle a few times to create a wreath that keeps it shape. Viola! So simple and pretty…
The post DIY: Wreath Placecard Holder appeared first on Smitten on Paper.
Go to post
Jun 13 2013

Send out your thank you cards in style with this Cello Bag Mailer! It’s crafty, fun and super simple!
All you need:
1. Put your Thank You card into a medium striped bag. 2. Put the striped bag into the cello bag. 3. Seal the back. 4. Grab your wrap around address label and stick onto the front, leaving the return address for the back. 5. Stick the other end to the back. 6. Step back and admire your DIY skills!
Let us know if you try this fun DIY out!
xoxo
The post DIY: Cello Bag ...
Go to post


