Sep 19 2012
A Little Save the Date DIY
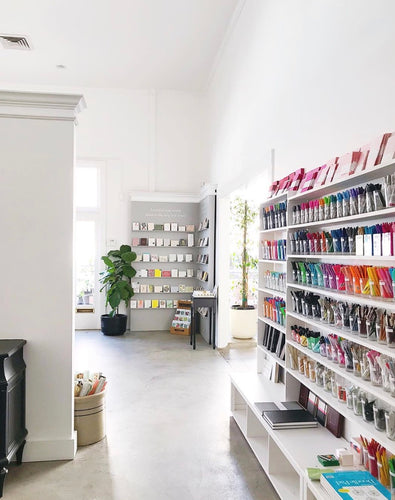
I love finding new ways to put together some of the stuff I’ve already used for another project. I put together a Save the Date using some of the items from our Paper Shop and a couple of other things you should always have as part of your DIY arsenal.
Here is what you need:
1. your photo printed to 5 x 7
2. scissors, hole punch
3. the back of your save the date with all the details
4. flag hang tags
5. fun little extras
6. cording
7. pens, markers
Trim down all cards to be 5 x 7. Then use some tape or a glue stick to mount the two cards together. I printed the details for our save the date onto kraft paper, which is one of my favorite papers!
Next, hole punch where you would like the tag to hang on the front of the card. Try to punch the card a bit toward the top to allow the tag to dangle a bit in the center. Then, write the date onto the blank tag or have us print them for you!
Now you can start stringing together your flag and extra little goodies. We used a couple of X’s and O’s, but you can use anything from hearts or try adding mini baby photos of the two of you. Too cute. Once you’ve added all of your goodies, tie a knot large enough to keep everything secure and cut off any excess cording. Do the same to the back of the card.
You’re done! I love this DIY-you can really make it your own and personalize your save the dates. We have all sorts of shapes in our Paper Shop for you to choose from so browse away! Have fun!
The post A Little Save the Date DIY appeared first on Smitten on Paper.


